What is Yggdrasil?
Yggdrasil is a decentralized mesh network where every participant is equal. Each computer in the network (a node) is assigned a static public IPv6 address, and any other participant can reach it directly.
This can be used, for example, to play network games across different local networks. One player runs a Minecraft server without paying for an external (“white”) IP address, and another player from a different city connects to it via Yggdrasil.
Installation
Let’s get started: we’ll download and install Yggdrasil, configure peers to connect to the rest of the network, check that everything works, and obtain our own IP address.
Download the installer
Open the page with the latest Yggdrasil release on GitHub.
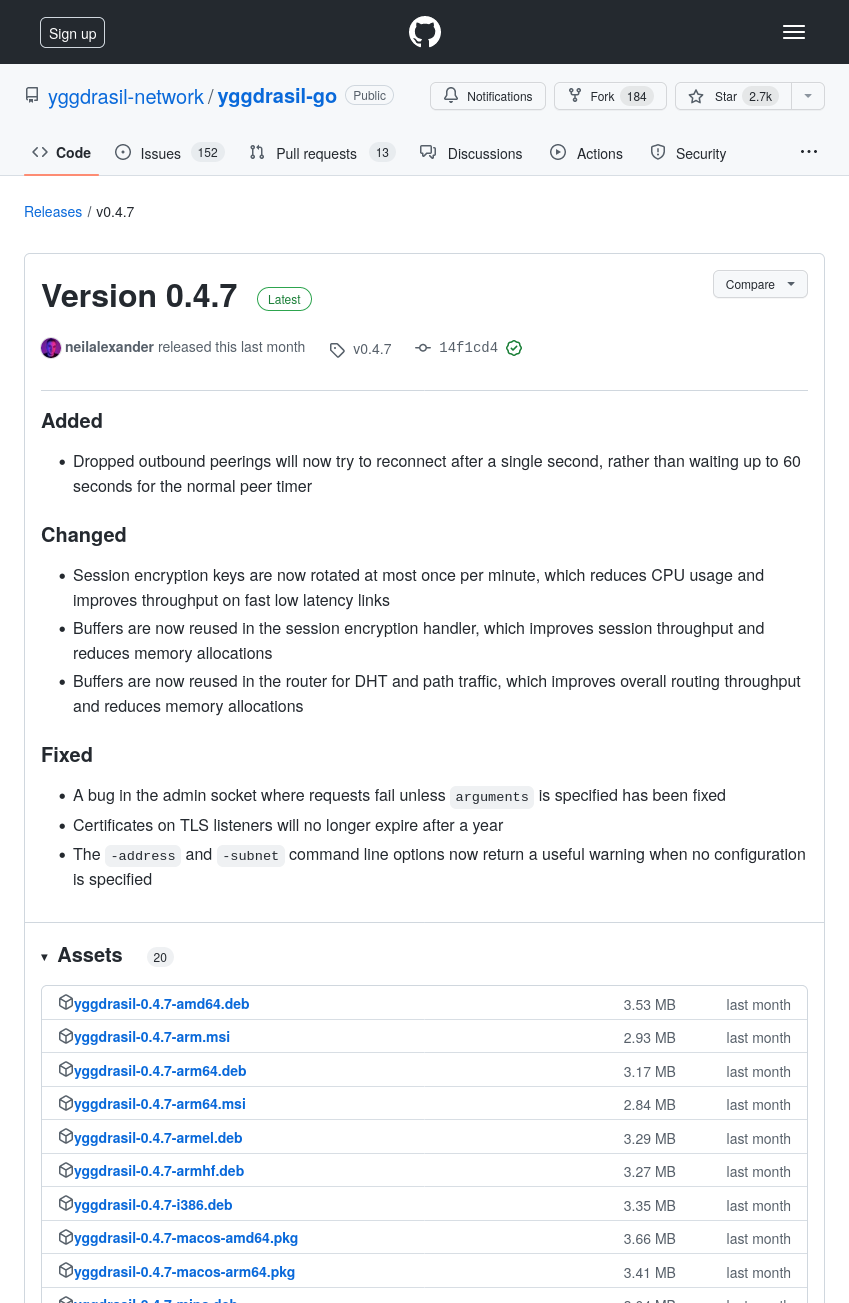
Find the file yggdrasil-x.y.z-x64.msi (for version 0.4.7 this is
yggdrasil-0.4.7-x64.msi). If you have a 32-bit system (from the 2000s),
download yggdrasil-x.y.z-x86.msi instead.

Installing the MSI
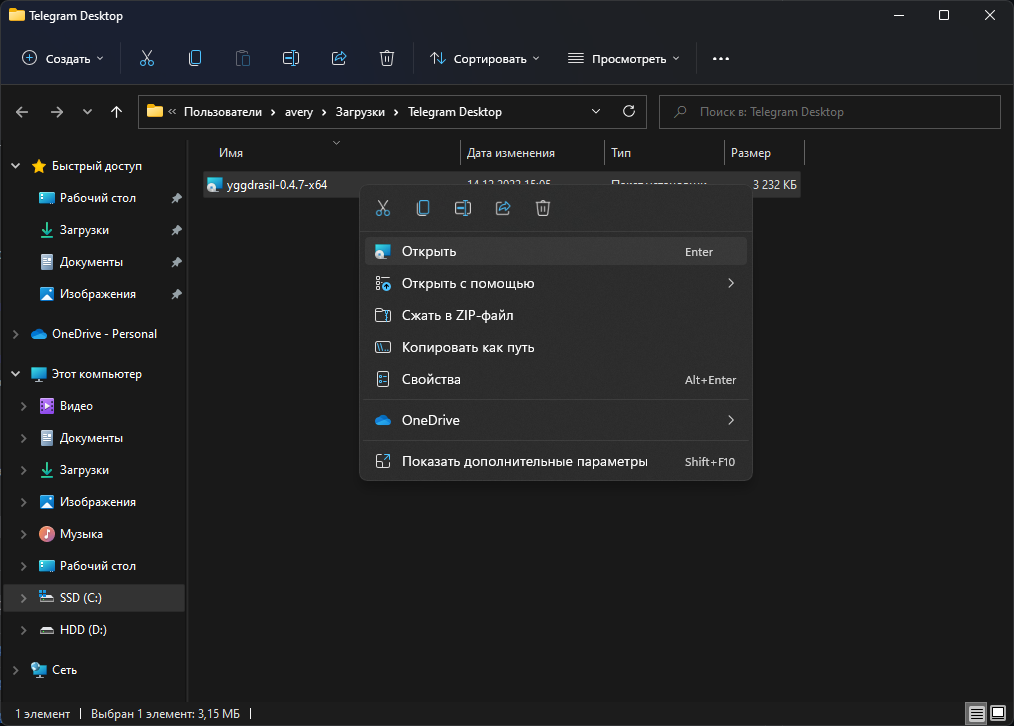
Open the downloaded MSI file.
Confirm the launch by clicking Run.
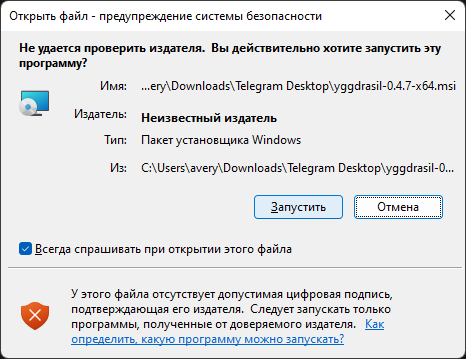
When prompted, grant the installer administrator rights.
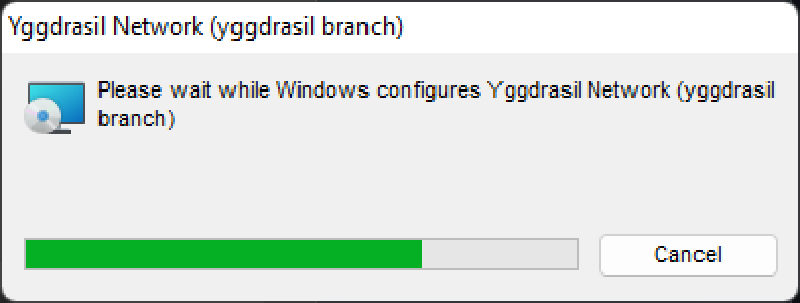
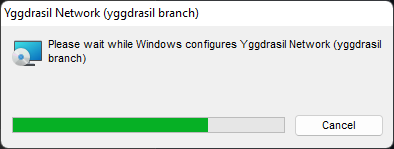
The installer window will open and no additional questions will be asked. After installation finishes (it takes only a few seconds) the window will close automatically.
That’s it for the installation process, now let’s proceed to configuration.
Error 2503
Sometimes the 2503 error appears when installing MSI files. Open the properties
of the folder C:\Windows\Temp, go to the Security tab and make sure that
the Administrators group and your user (add it if it isn’t listed) have
full permissions. Information taken from Microsoft Community.
Configuring peers
Peers are the servers Yggdrasil connects to in order to reach the rest of the network.
It is better to choose one common, stable peer for all players – this minimizes ping and prevents other people’s traffic from passing through your connection (public peers are responsible for forwarding traffic).
Choosing peers
There is a repository with a list of public peers on GitHub. Peers are grouped by continent, country and city. Choose peers that are geographically closer to the host – this will reduce ping for all players.
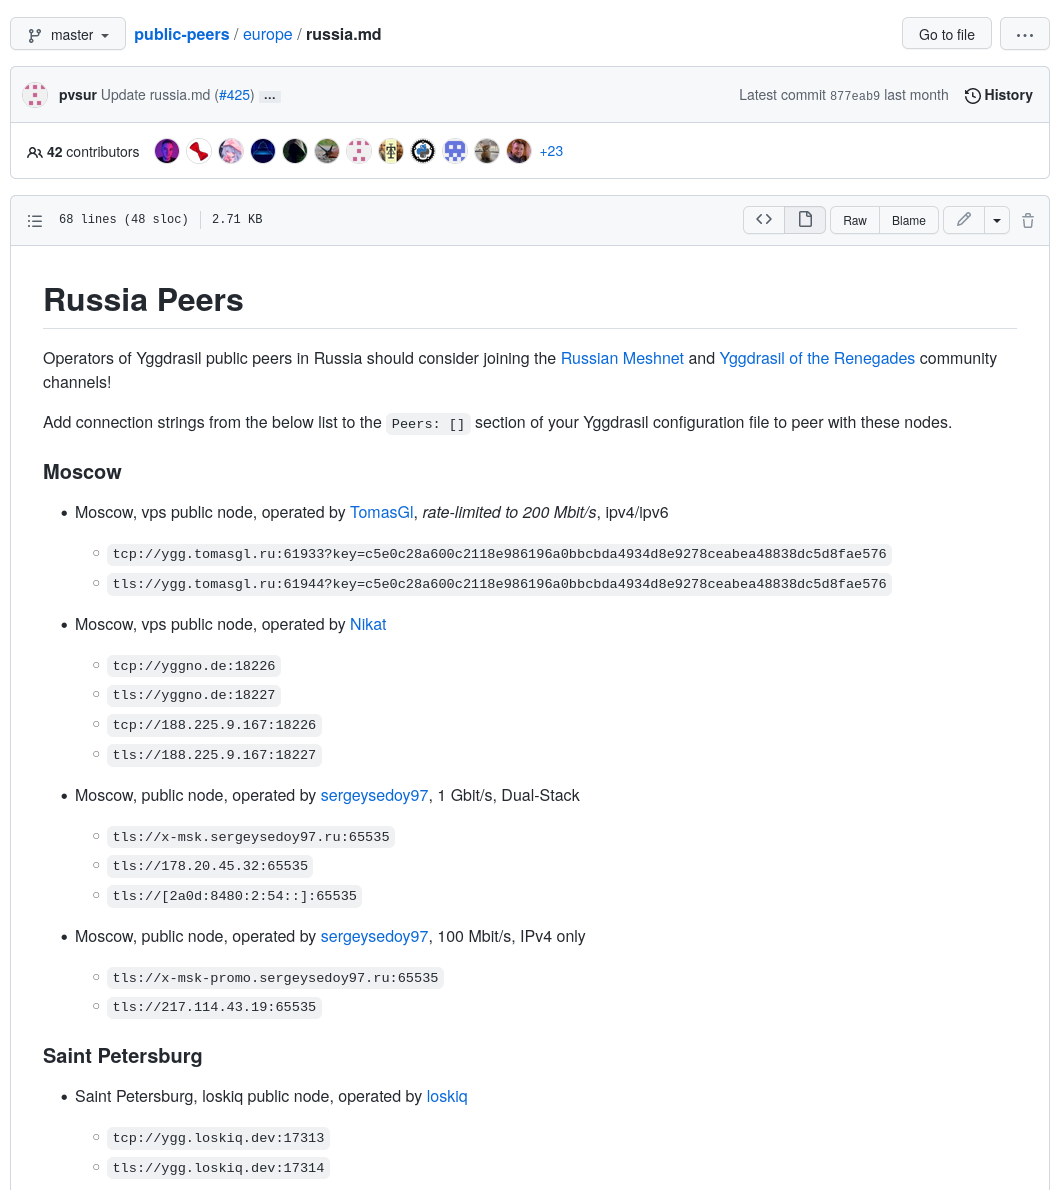
For example, you can use my peer (Moscow): tls://ygg-msk-1.averyan.ru:8363 or
quic://ygg-msk-1.averyan.ru:8364 (the quic variant is preferable if it
works for you and isn’t blocked).
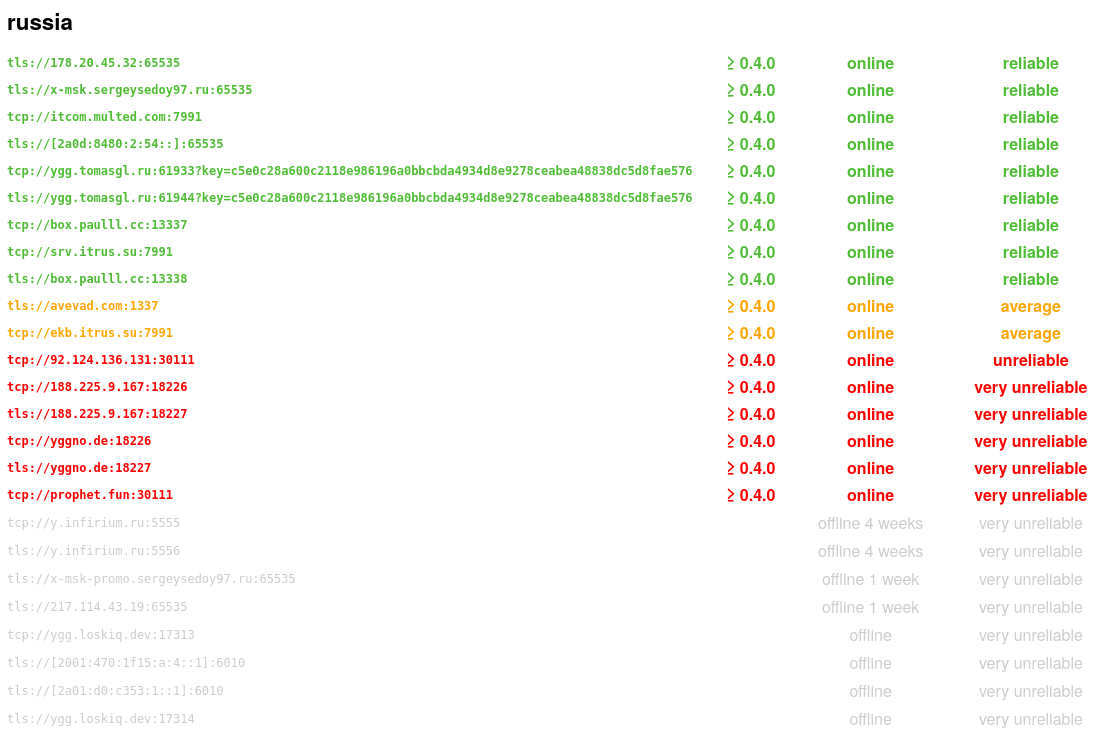
However, not all of them may work – you can check the list of available peers on the developer’s website.
Editing the config
Press Win+R to open the Run dialog. Enter the path to the config:
%ALLUSERSPROFILE%\Yggdrasil\yggdrasil.conf
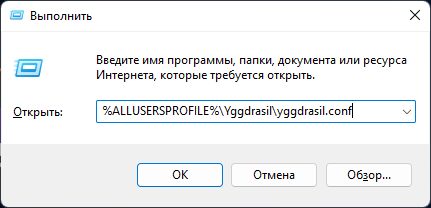
Click OK. If Windows asks how to open the file, choose Notepad.

Insert the peers you chose into the Peers list:
| |
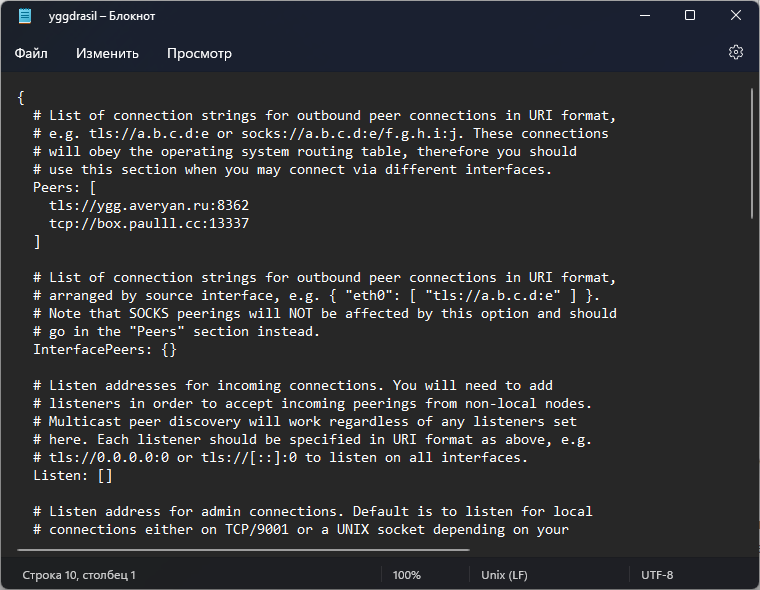
Save the file with Ctrl+S or via the File menu.
Restarting Yggdrasil
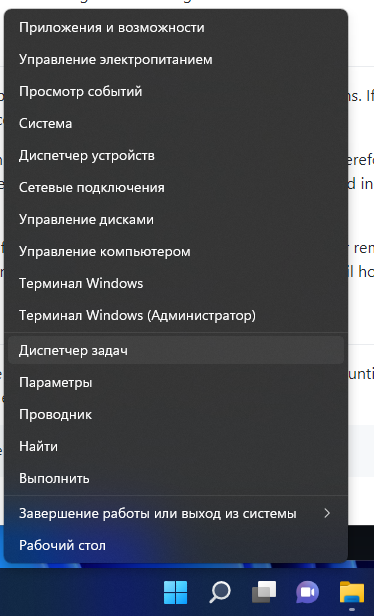
For Yggdrasil to apply the new settings, it needs to be restarted. The most obvious (but slow) way is to reboot the computer. Instead, we’ll restart it via Task Manager.
Open Task Manager with Ctrl+Shift+Esc or by right-clicking the Windows
icon (Start button) on the taskbar.
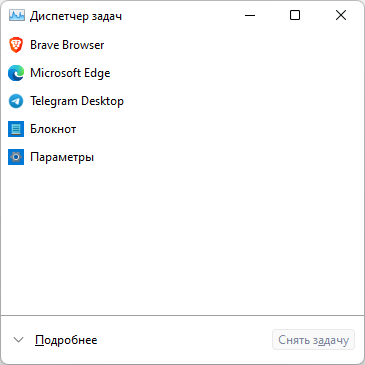
If the simplified Task Manager opens, click More details.
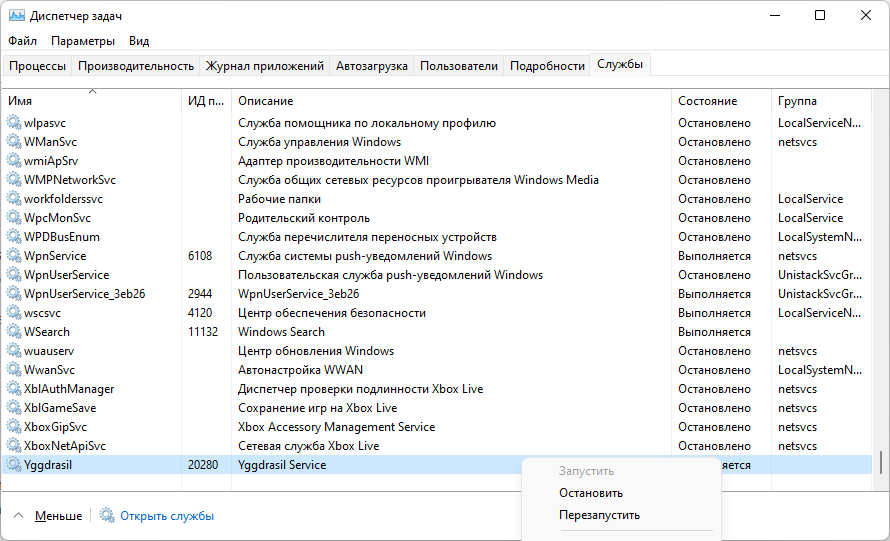
Open the Services tab, find Yggdrasil at the very bottom, right-click it and choose Restart.
Final steps
Installation and configuration are complete – let’s check that everything works and find out our IP address.
Checking functionality
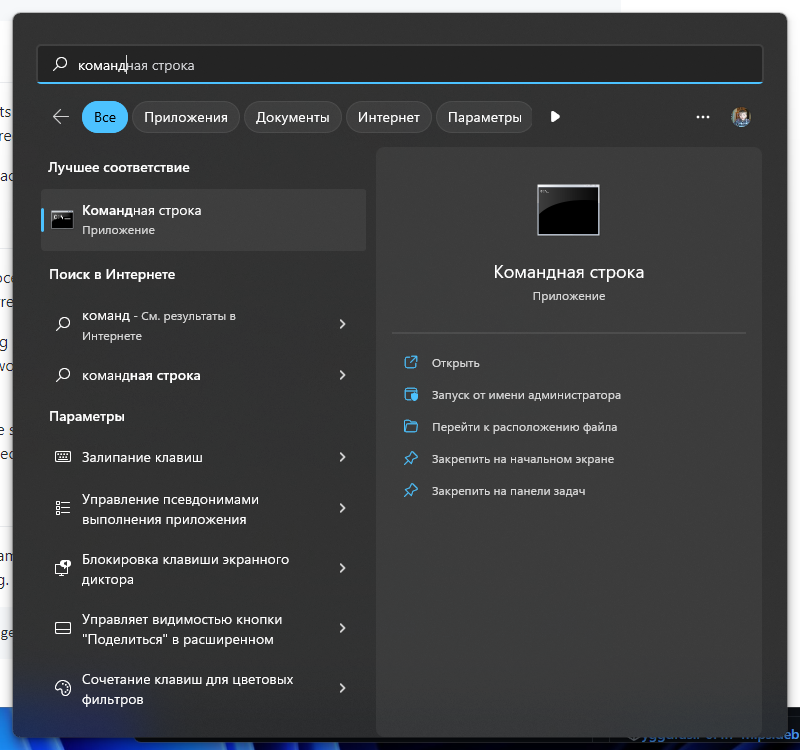
Open Command Prompt.
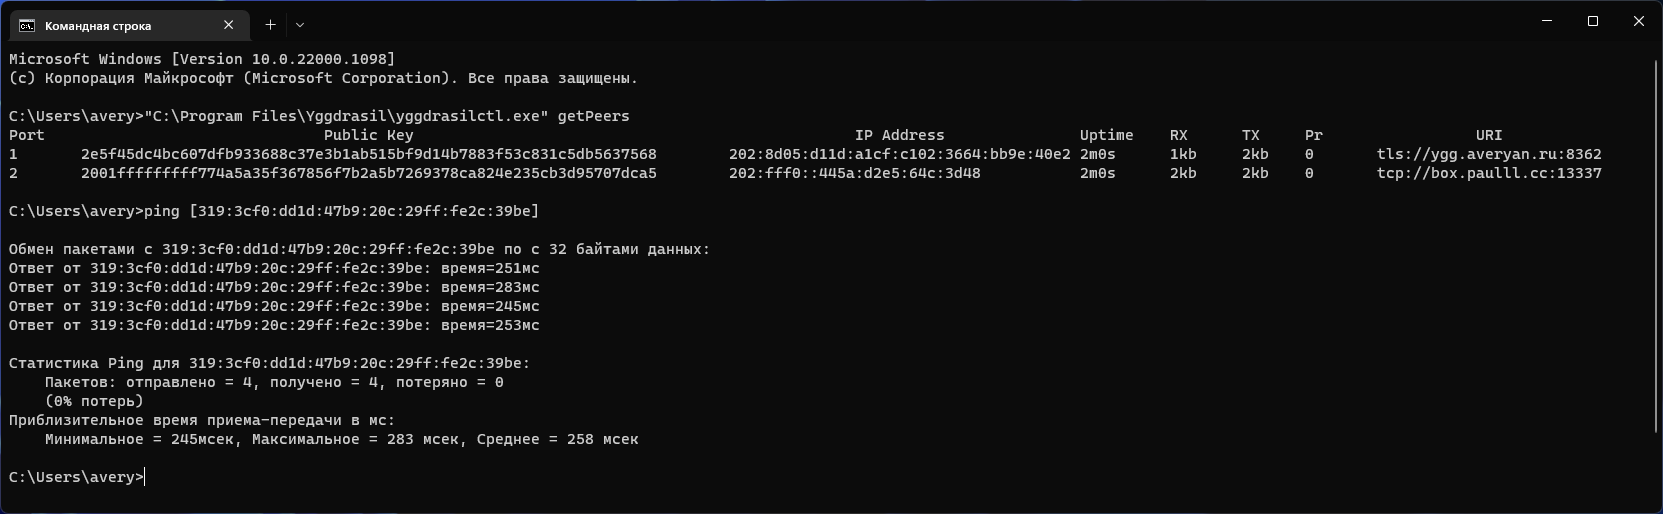
Enter the command "C:\Program Files\Yggdrasil\yggdrasilctl.exe" getPeers to
view the list of connected peers. There should be as many as you configured. If
there are fewer, some peers are unavailable.
If an error occurs when entering this command, try rebooting the computer.

Try opening and pinging the Yggdrasil website (available only from the Yggdrasil network and may load quite slowly):
| |
Getting your IP address
To find out your own IP address, enter the command "C:\Program Files\Yggdrasil\yggdrasilctl.exe" getSelf:

The highlighted line will show your IPv6 address in the Yggdrasil network.
You’ll notice that the ping to your own address is practically zero.
Configuring games
Yggdrasil is now installed on your computer and running. Let’s use it for network games.
Minecraft
Install Yggdrasil on the device that will host the server and on those that will connect to it.
Start a LAN game on the host (Open to LAN) and note the port:


Find out the host’s IP address. (In my case it is
200:d08:17f6:af6e:b285:16de:d3ba:387a)
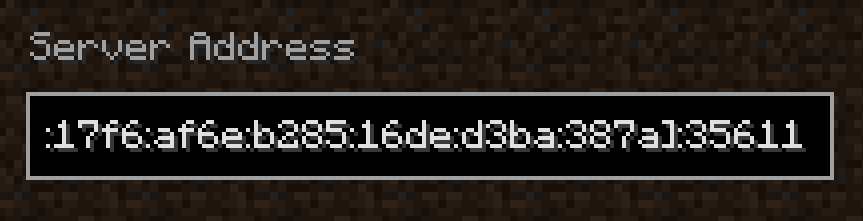
Connect to the server (enter the IP in square brackets and specify the port after the colon):
If you can’t connect, try configuring the Windows Firewall or turning it off completely, and also check the ping to the host.
Done! Now you can play Minecraft with your friends at any time.